
A shoot will come up from the stump of Jesse; from his roots a Branch will bear fruit.
Isaiah 11 1 (NIV)
Background
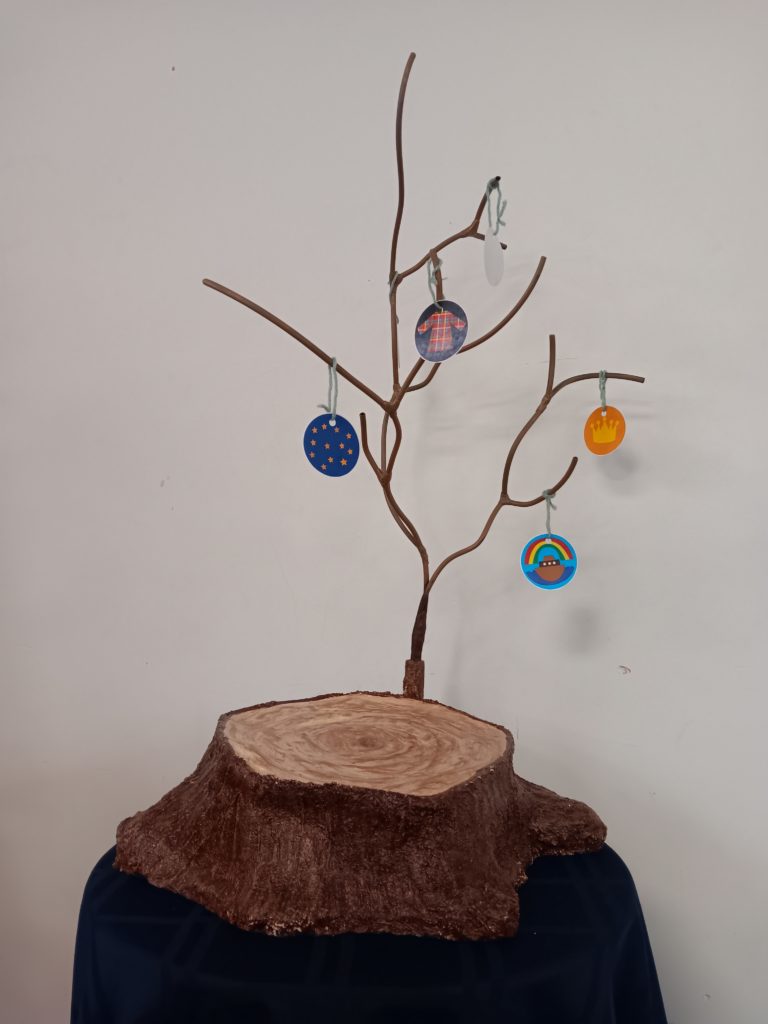
I created this Advent display for our church. It’s based on the verse from Isaiah above, and it’s symbolic of Jesus’ genealogy, so it’s very fitting for the Advent/Christmas season. (You can read more about it on Quora)
Building it
There are two main parts to this, broken down below:
Part I: The Stump (of Jesse)
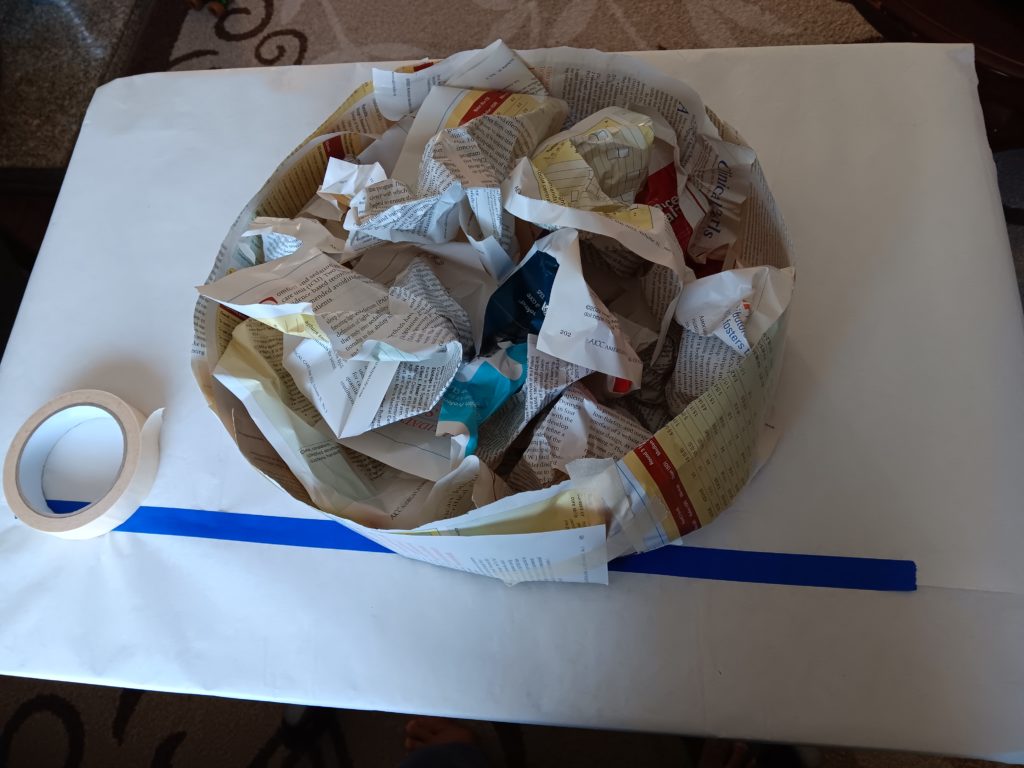
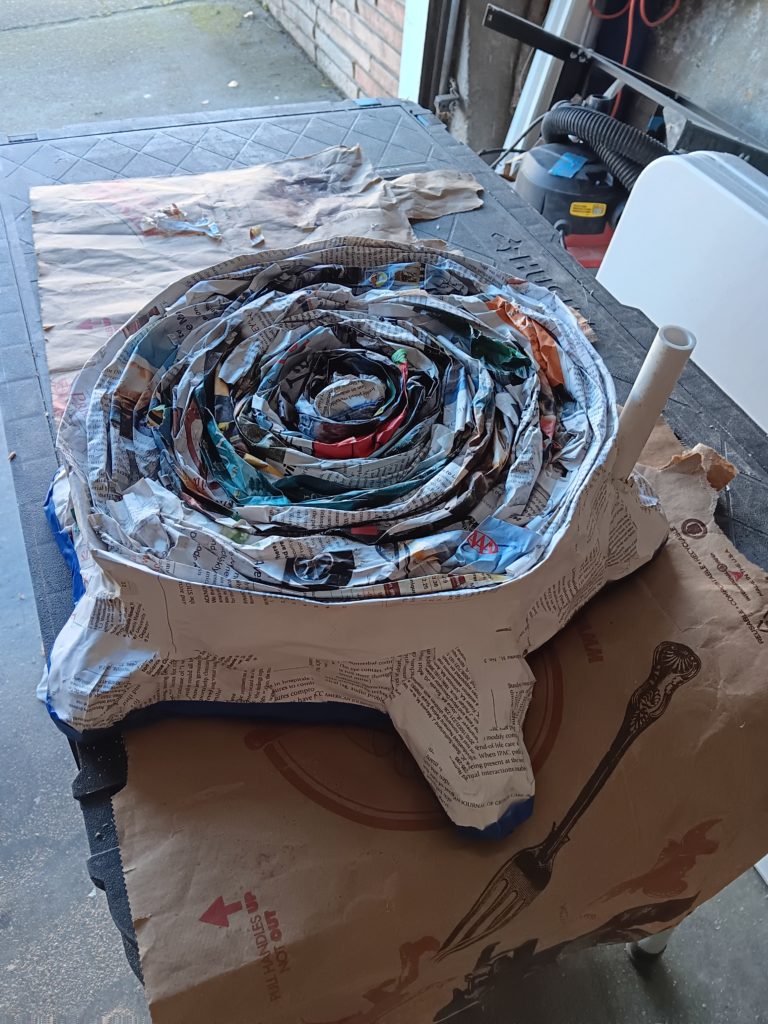
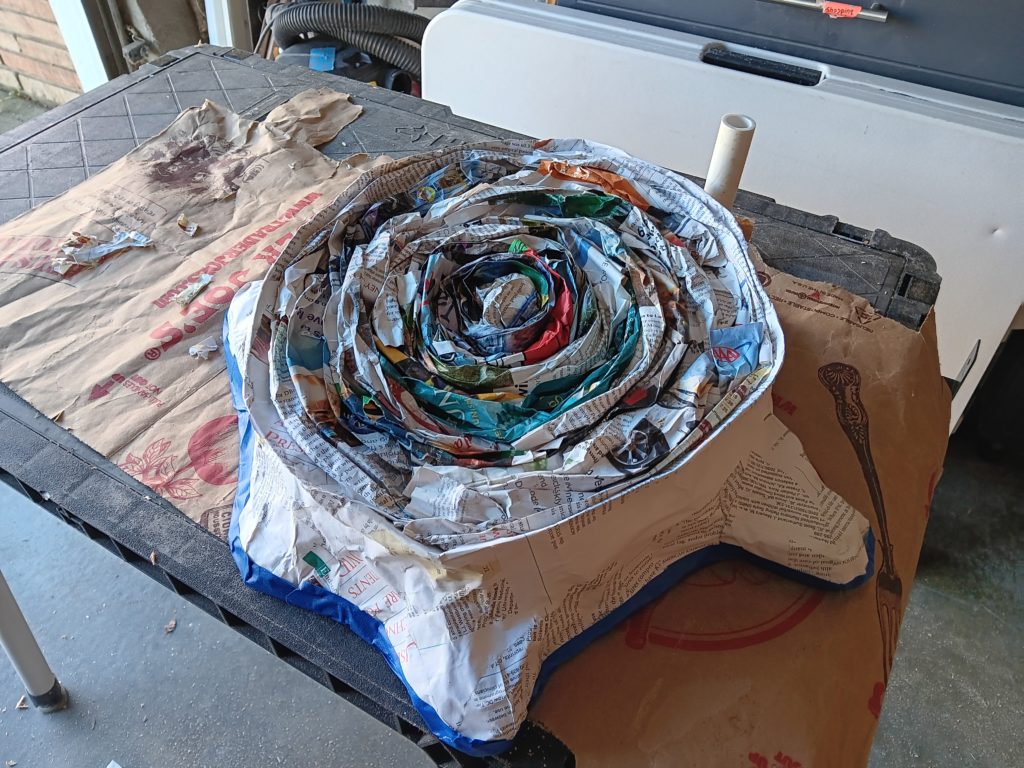
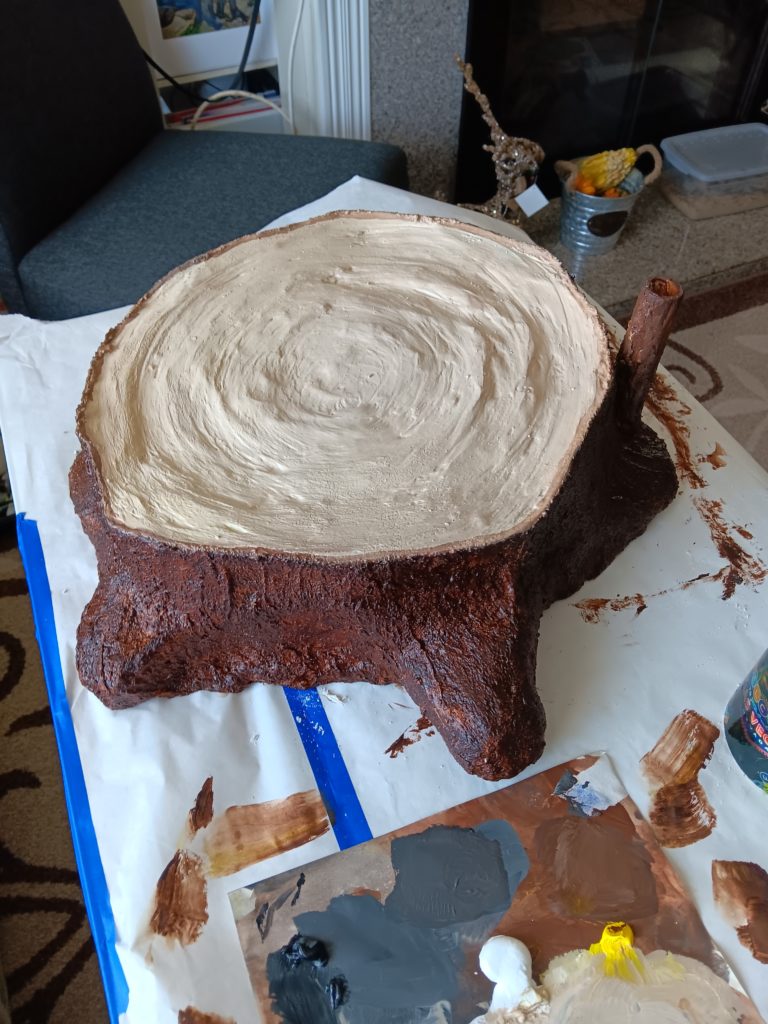
The stump is primarily made of paper. Specifically, one (old) issue of Critical Care Nursing magazine. 🙂 The basic shape was formed with crumpled up and held together with masking tape.
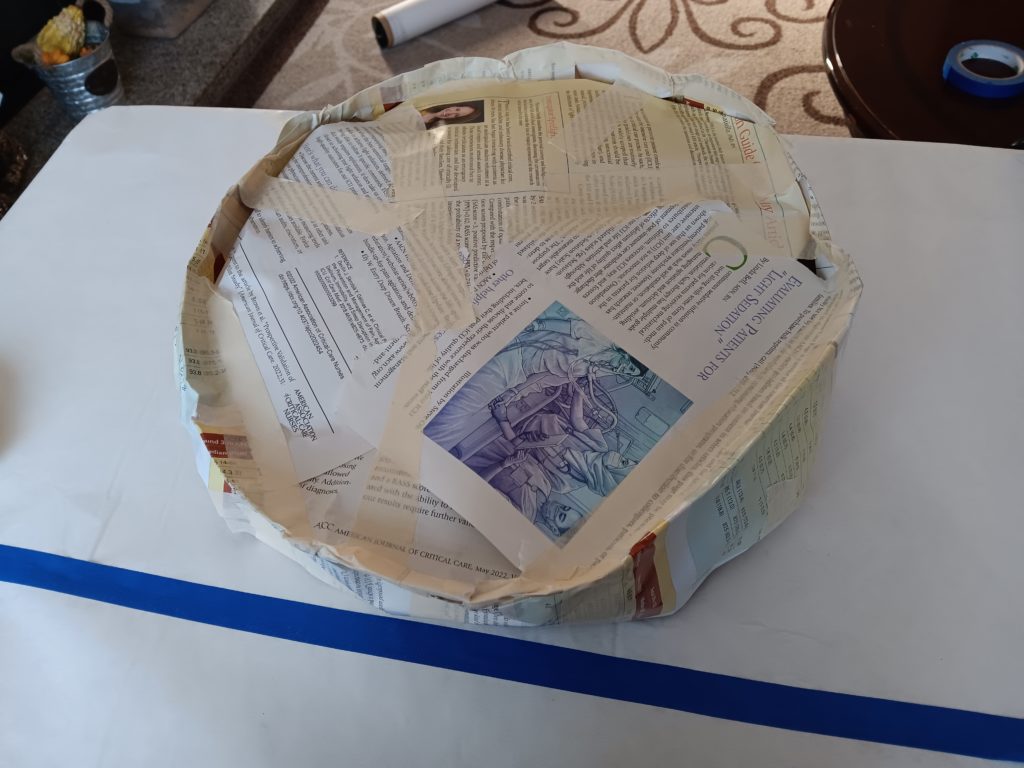
After getting the overall shape in place, I added a layer of paper mache, again from the same magazine, to create a more rigid structure. There are about two layers of this on the stump.
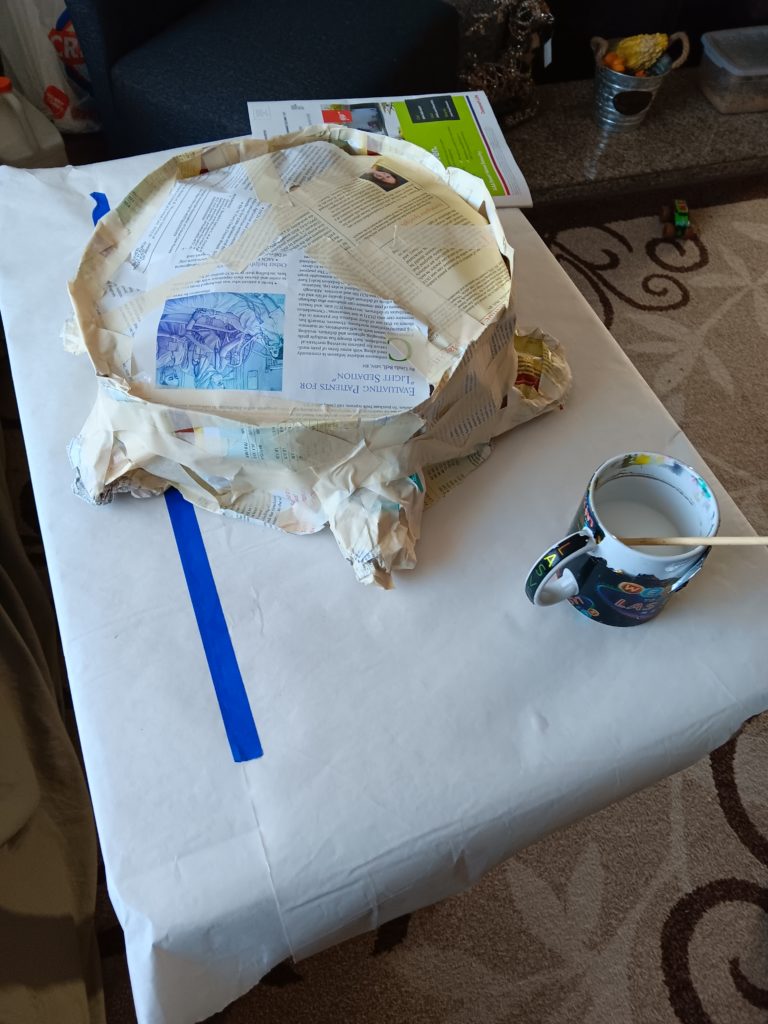
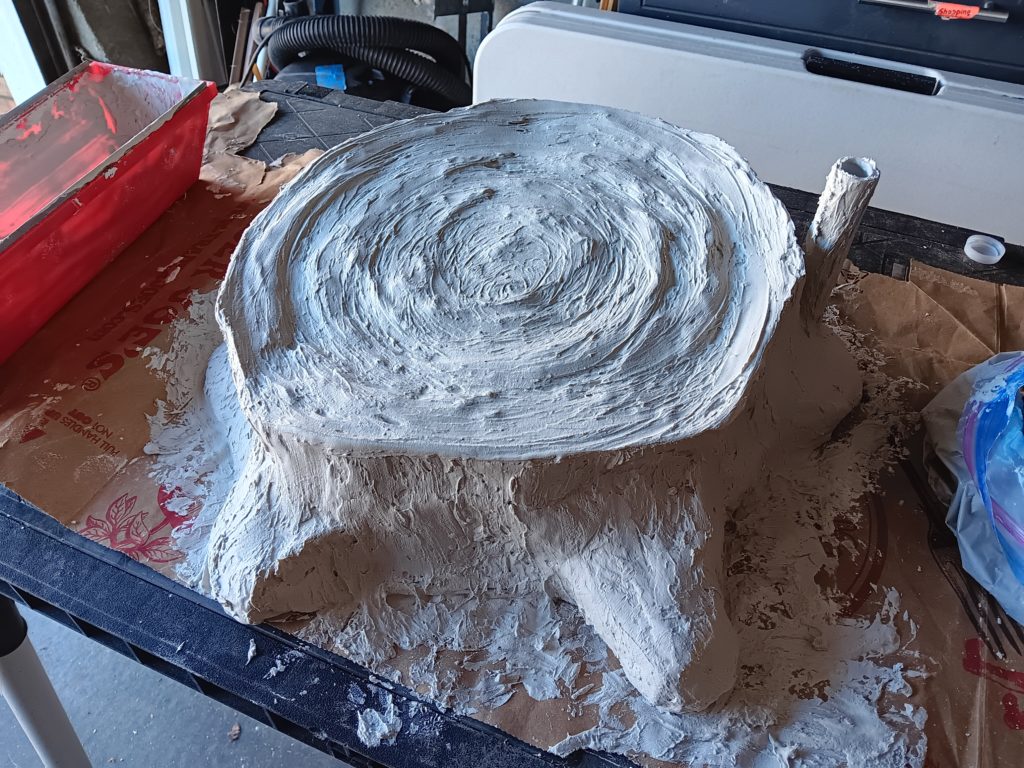
After drying, the form was fairly rigid, but I added a layer of joint compound on top of it which helped keep things even more rigid.
It’s important to know at this step that joint compound on its own is very brittle. It’s rigid, but very brittle, so it’ll crack and break very easily when dry, especially if the layer is thin.
To help resist against this type of cracking, you may want to embed a layer of gauze within the joint compound. I’ve done that with a similar technique using plaster. In this case, though, I didn’t have gauze (or plaster) on hand, so I decided instead to just be very careful. Heh-heh.
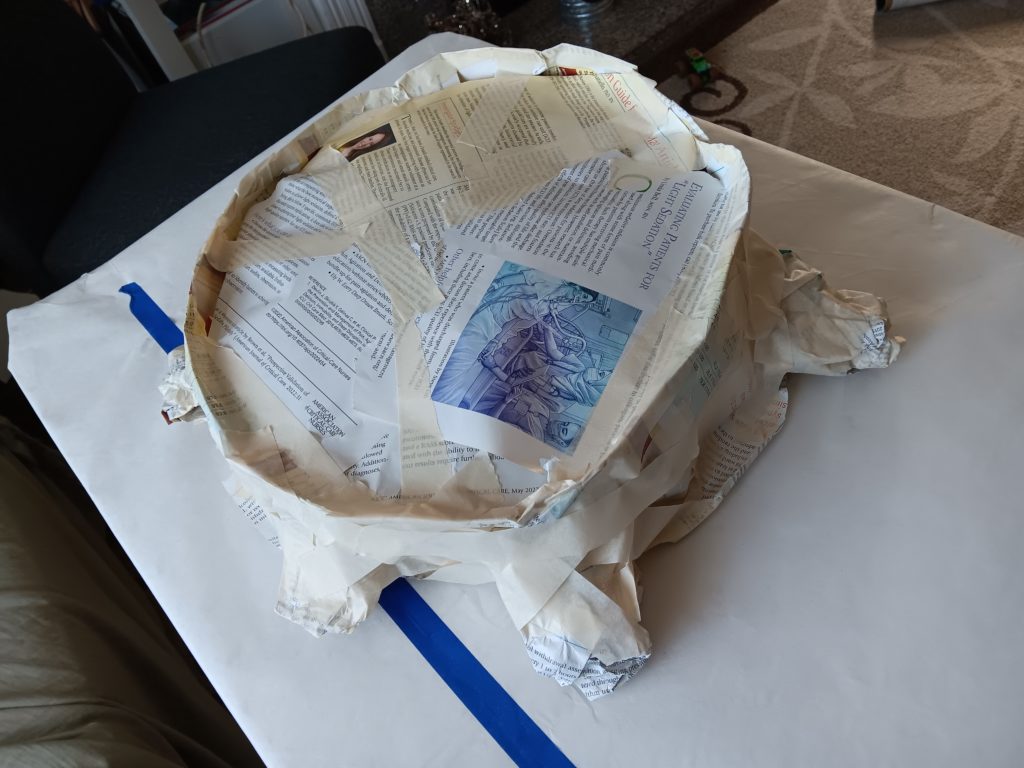
I let it sit overnight to dry, making sure every part of it fully dried. In this case, the joint compound I used dries white, and turns room temperature. That makes it easier to spot the uncured areas (dark, and cold to the touch). Make sure to wait long enough for things to dry so that all the material can reach its strongest state before adding additional layers on top.
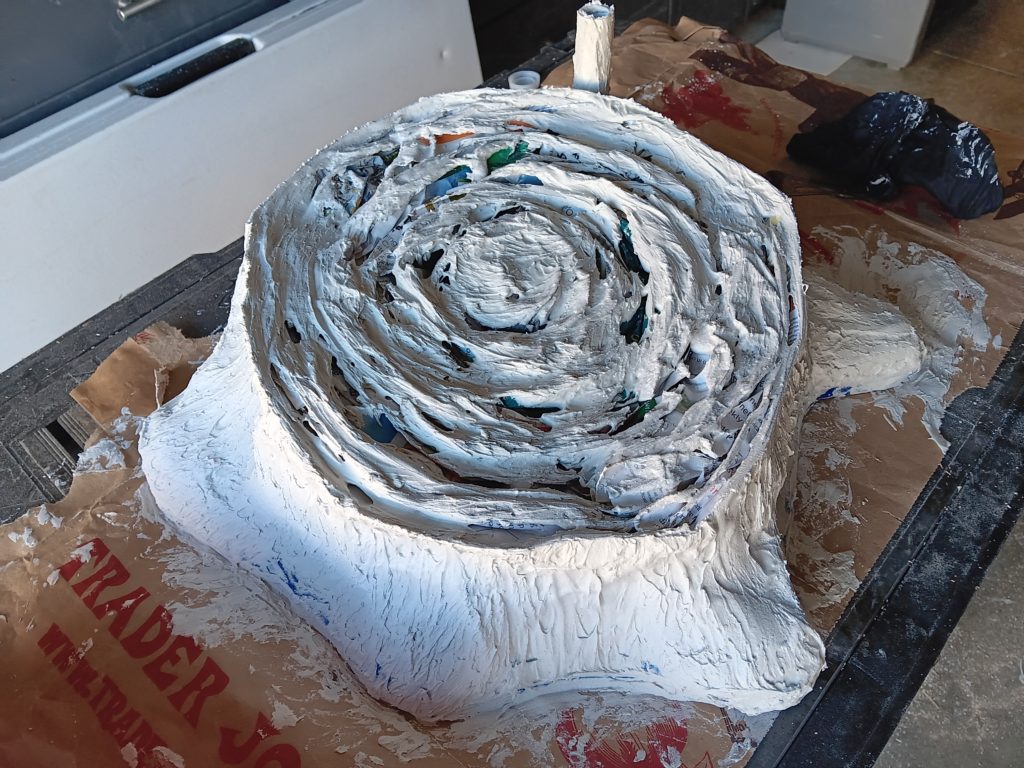
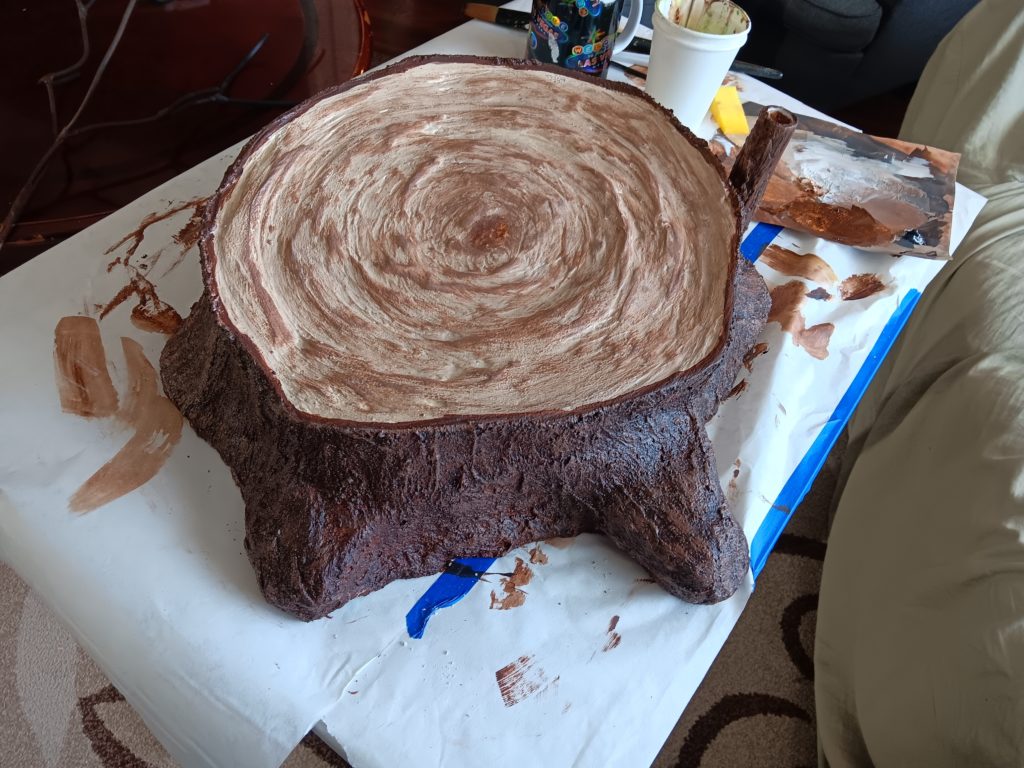
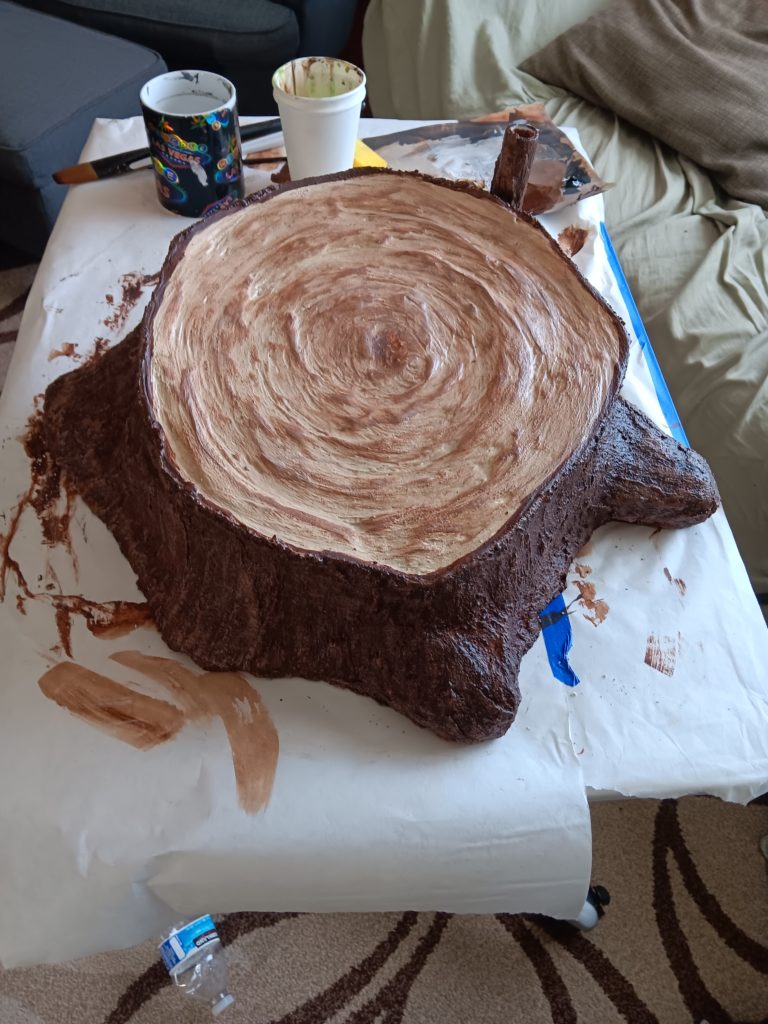
After the drywall dried, I added a layer of stucco. This adds the grainy, bark texture as well as provides another layer of rigidity. It’s also stronger than joint compound when dry, so don’t skip this step.
After another round of drying, I added a layer of Mod Podge, which is both a sealer and a glue. It’s good stuff and I use it often. It dries very clear and flexible, yet also kind of hard (sort of like a clear, thin taffy but harder), so it’s good at keeping everything together and also significantly helps resist cracking.
Shoot Base
As part of the stump, I incorporated a base of sorts made from a cut piece of PVC pipe. At some point as I was working on the form of the stump, I had made the decision to use a plywood base to keep the bottom flat, and to provide some additional weight.
Painting
With the Mod Podge layer applied and dried, it was ready to paint. For this, I used a variety of tints/shades of Burnt Umber. I’m using Liquitex acrylic paint which I’ve been happy with in the past (used in the painting of hands).
When painting a textured object like this stump, I like to start with the dark colors, making sure to apply paint in all the cracks. After that, work my way up in value with lighter and lighter tints. The final, brightest tint was applied very lightly with a flat sponge, just barely painting the peaks of the bark texture.
Part II: A Shoot (from the Stump of Jesse)
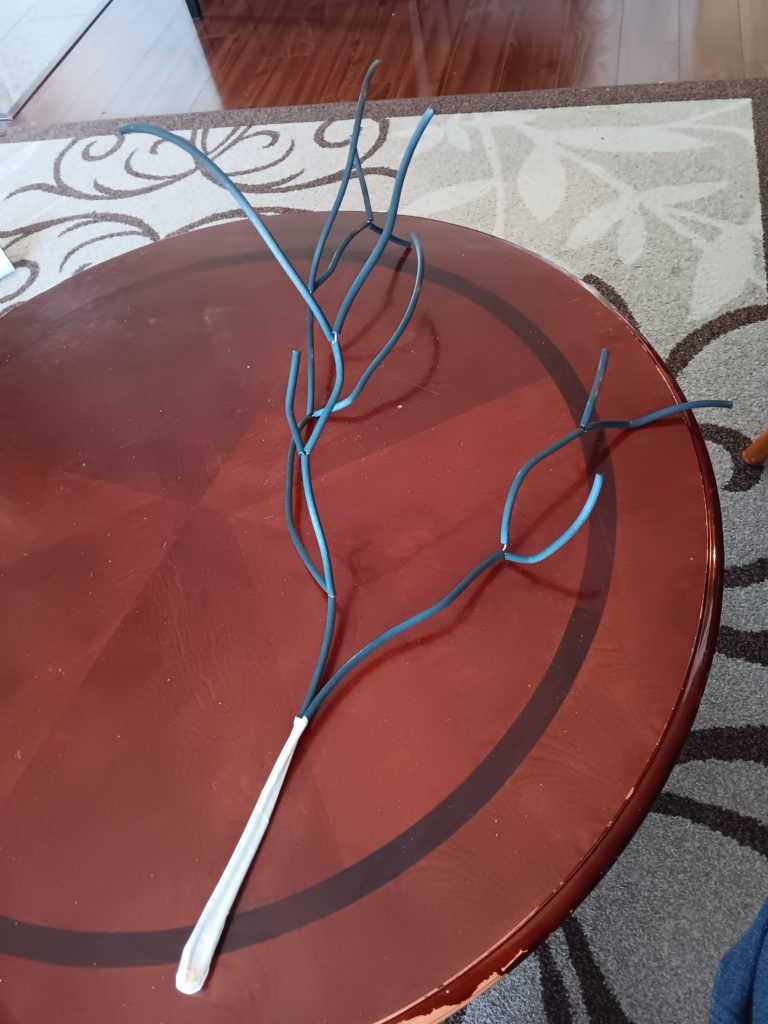
The second part of this piece was the shoot, which needed to appear to grow out of the outer area of the dead stump. The idea I had was to use the shoot base I incorporated as part of the stump to anchor and hold a branch in place.
That actually would have been just fine, but there were a few features I had in mind that I wanted to incorporate here as well:
- Make it flexible – I wanted to be able to bend and shape the branches so that I or others could move the limbs around to visually balance the whole thing when the whole shoot was placed and the ornaments were added.
- Make it grow – Well, sort of… Our church school classes like to add new ornaments/characters to the Jesse tree gradually as the weeks get closer and closer to Christmas. I thought it would be cool to have the branches “grow” week after week as if it were growing, but also to make more space for additional ornaments.
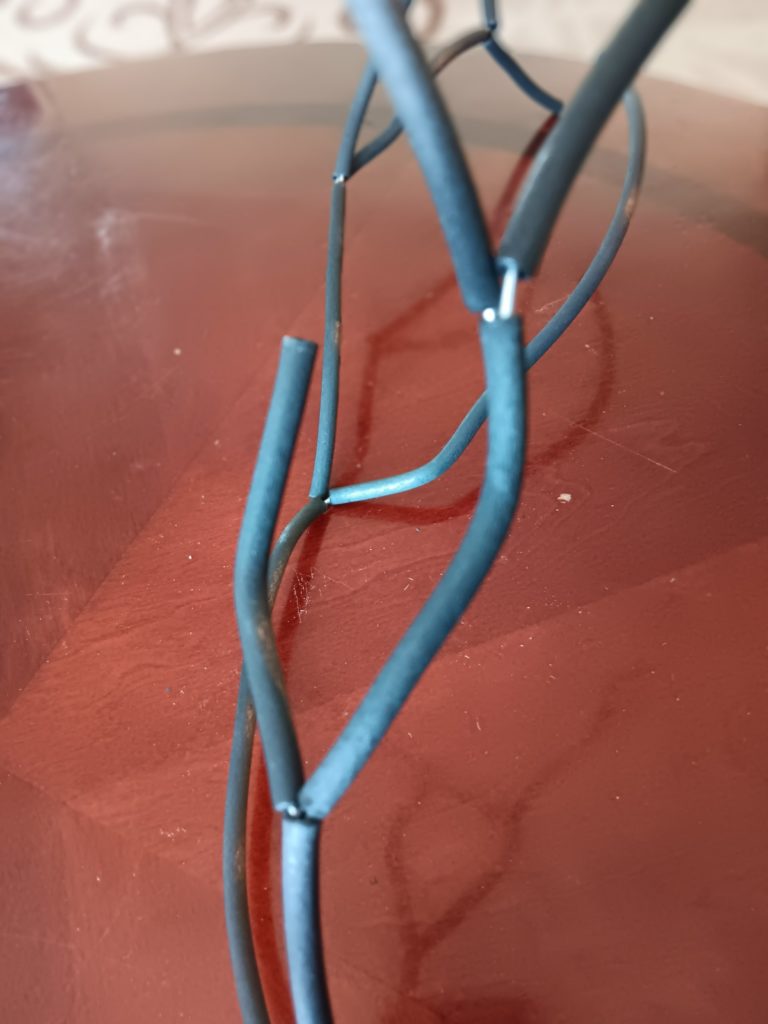
The solution I came up with was to use the handy wire + drip irrigation tubing materials I have used for a number of different projects in the past (see the Peregrine Falcon and Custom Plinko Board projects).
The wire within the tubing makes the it bendable/shapeable (addressing feature #1), and the open tubing allows us to stick new wire and tubing inside of the open tubes to create more branches as we see fit (addressing feature #2).
You can see that in some of the pictures, however, this left a bit of a gap exposing the wire between the different tubing parts. For these, I decided to use 5-min epoxy clay to cover the exposed joints.
With the branches in place, all that was needed to finish the branches was to paint it, which I did using a can of brown spray paint I already had on hand.
That’s it! From there, we just set up the stump on a table, inserted the branch/shoot into the PVC base, and added the oranaments.
It was fun to see kids and adults look at the final piece and guess what it was made with and how it was made. It turned out to be a pretty good way to get a conversation going about some of the symbolism we use in our space.
Now, some photos from this project:

Leave a Reply