Design
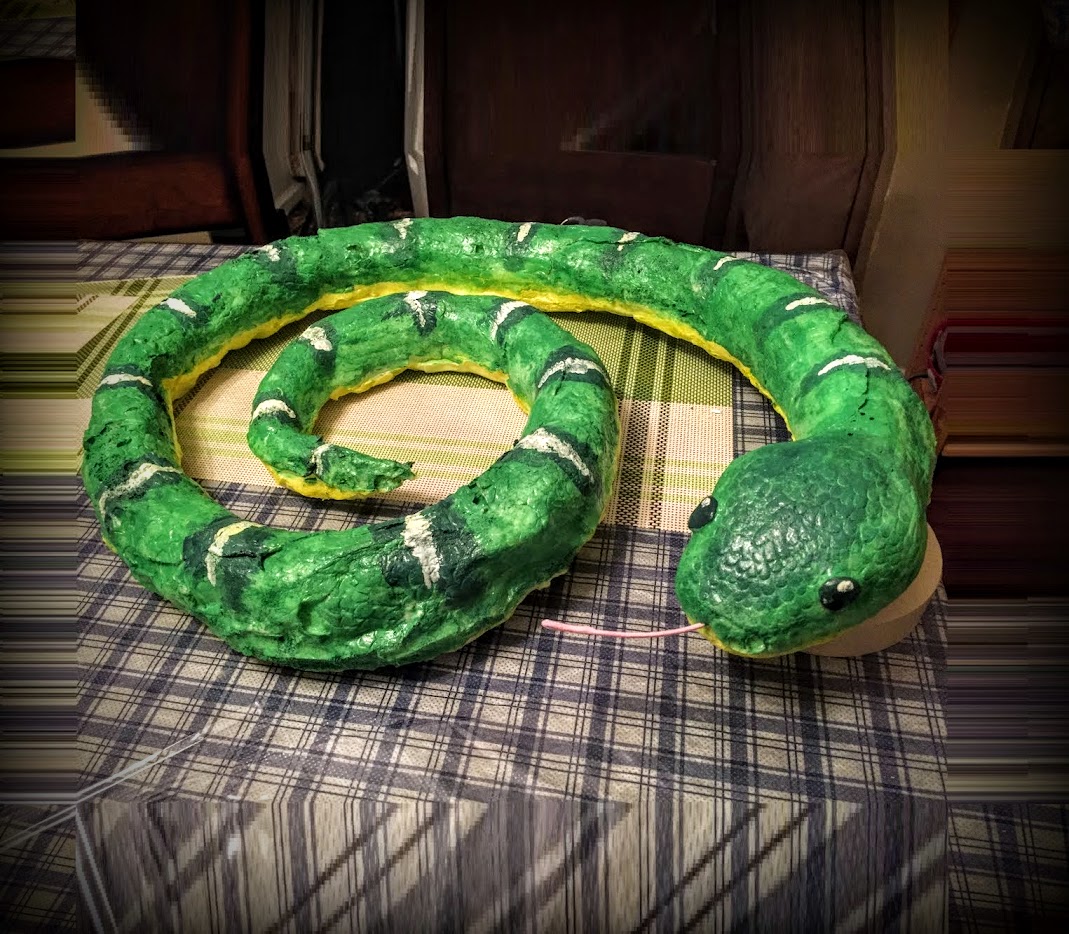
Like usual, I gathered a bunch of reference photos of emerald tree boas on Pinterest and on the interwebs. The design is pretty interesting–they’re primarily green with white markings that look a little like lightning bolts, and you often see them perched on branches. Fascinating to see in photos, but I personally wouldn’t want to come across one of these in the forest.
The shape of the snake is obviously pretty straightforward, but the most difficult thing to create on a costume like this is the scales (which is probably why folks would choose not to incorporate that in their creations).
I also decided to make this more of a prop, to make it easy for my kid to bring to school and put on.
Build
Detailed information about this build to come… in the meantime, watch it in action.
Snake Form
Clay Model
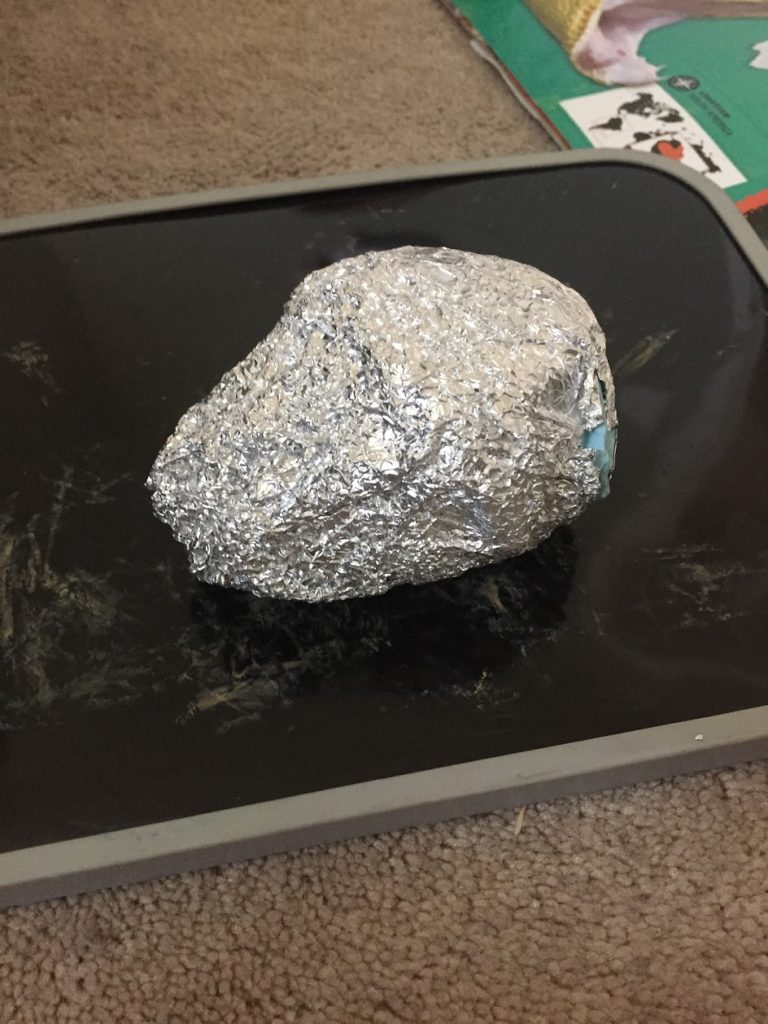
I wanted to make the prop out of light, flexible foam that’s easy to carry and wear draped around my kid’s shoulders. At this point in the process, I just needed a solid shape to cast the snake from, so I made the model out of rolled up newspaper and an outer layer of clay. The newspaper core was really just a quick and cheap way to create the bulk of the form without making the entire thing out of clay. The outside layer of clay helped to keep things together and as material to add the scale texture to, later.
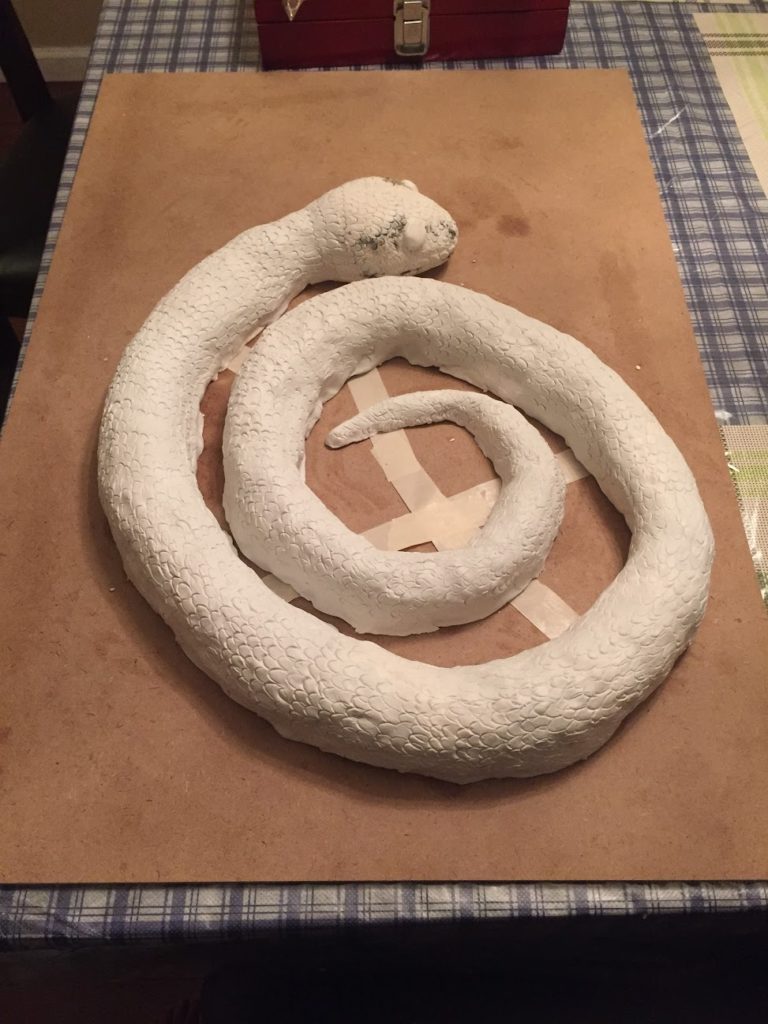
Scales
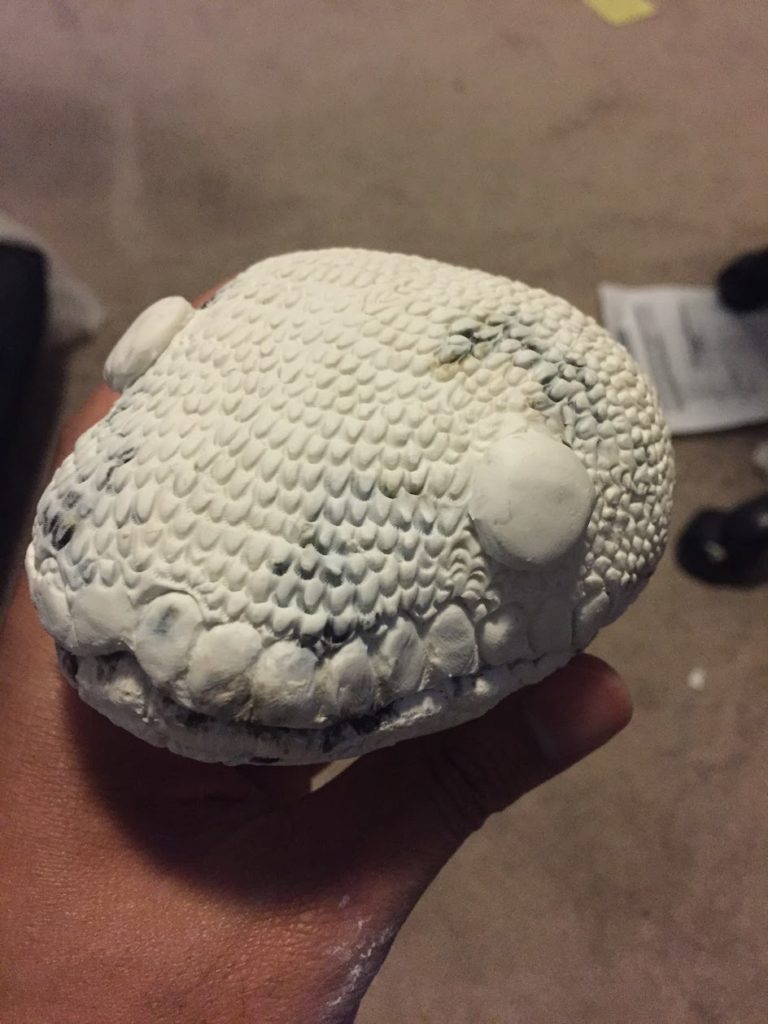
Looking at the reference photos of these snakes, the most difficult thing to get down is pattern of the scales. The method I ended up using for this was just drawing them out with some handmade clay tools I made in the past from bamboo skewers, polymer clay and old (acoustic) guitar strings.
I bent the guitar strings to the shape of a snake scale and basically pushed it into a large clay form the shape of the snake.
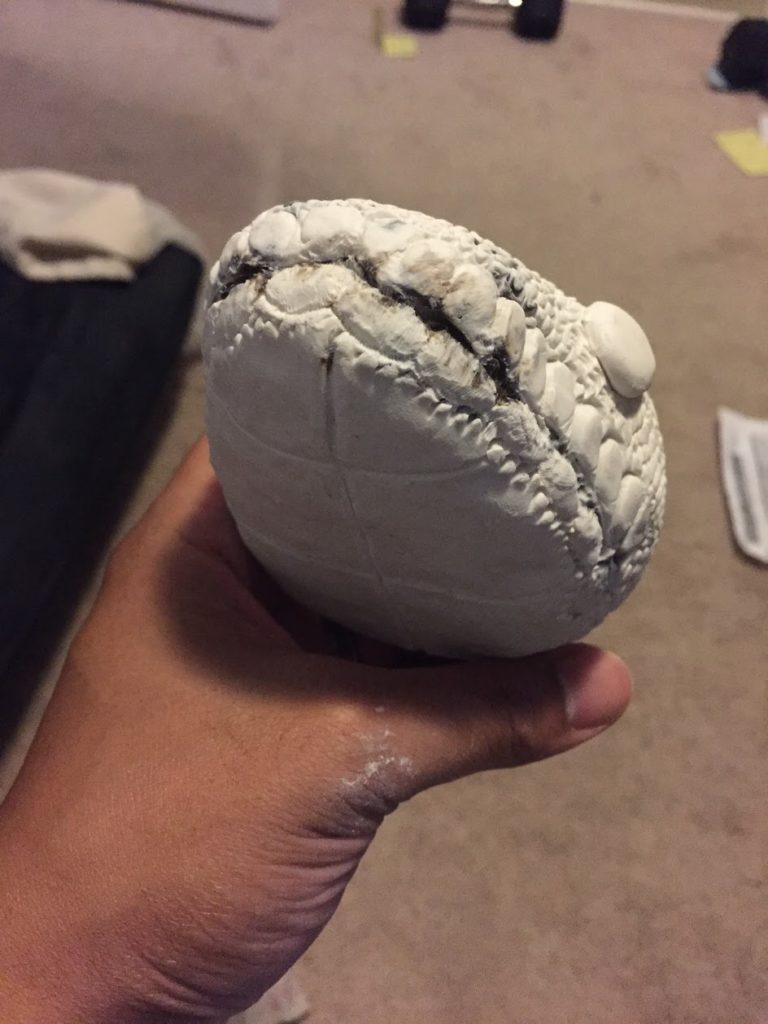
You can see more of the scale details in the close shot of the head here.
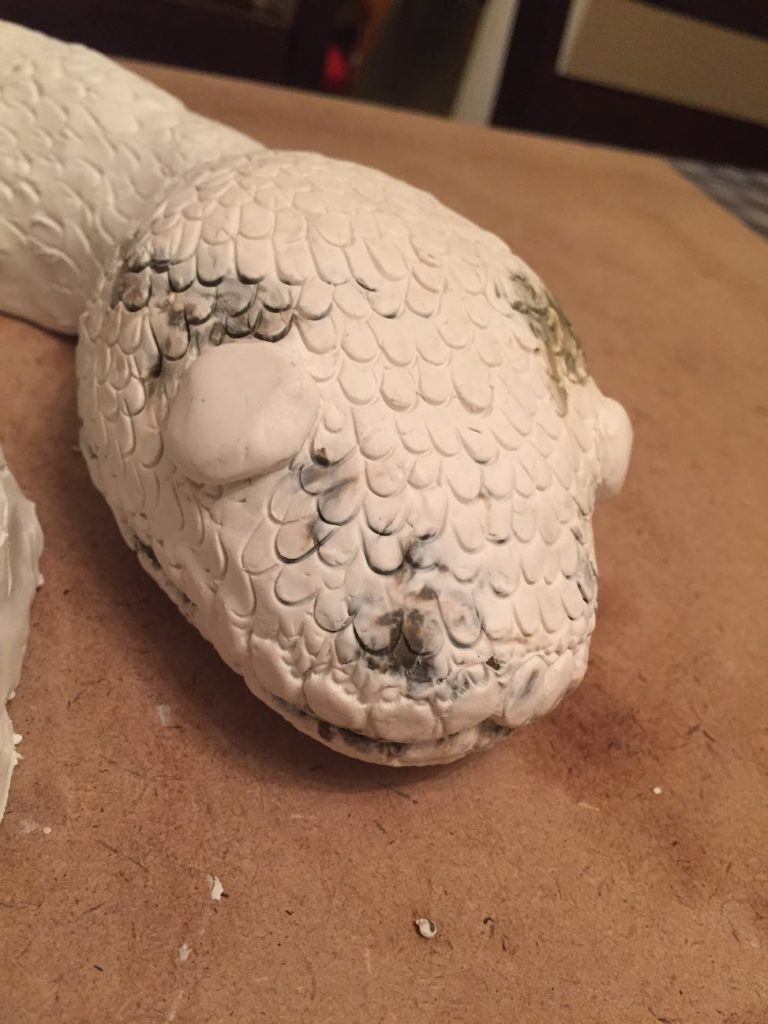
The model was made out of leftover clay, so that’s why there are different colored splotches on the model.
Adding the scales took a good amount of time. If you decide to make something like this, give yourself a couple days to space things out.
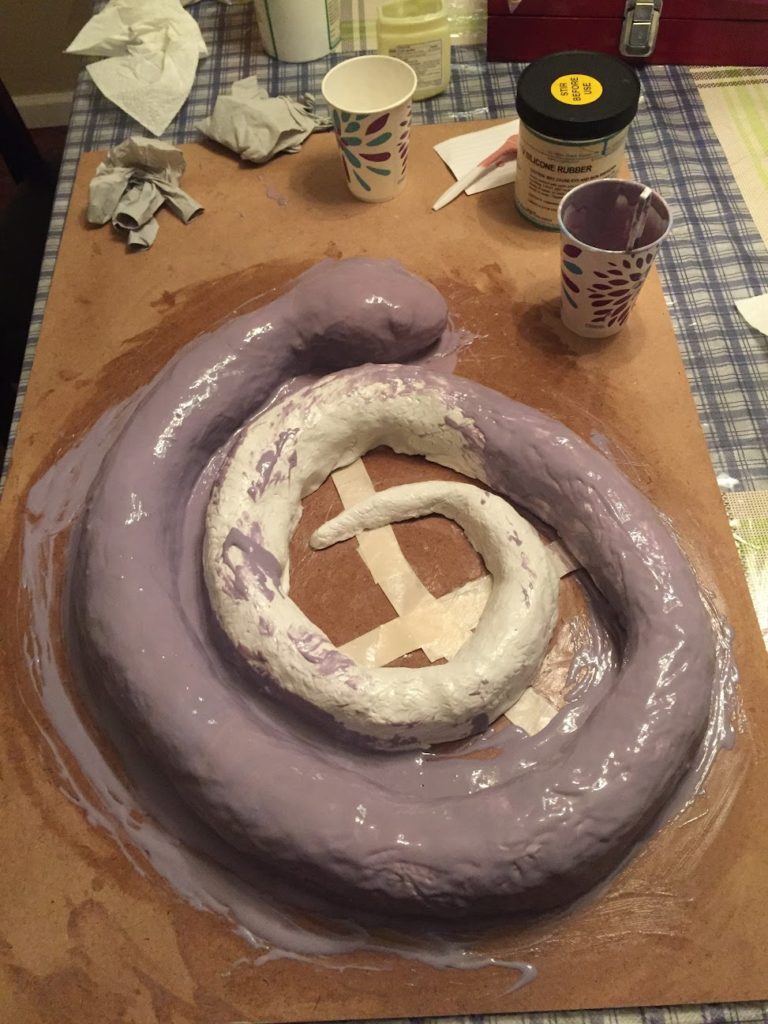
Silicone Mold
With the model finished, it was time to create a silicone mold out of it. I had messed around with silicone molds in college for one of my product design classes and had a fair amount of two-part silicone mold product left over which had been sitting in my garage for about 5 years. I believe the date on it was already expired as well, but I didn’t want to waste it, so I did a test mix and discovered that the silicone still cured, so I decided to use it.
It’s a fairly straightforward process: mix equal parts A and B together and work quickly to pour it over the model.
I didn’t have a lot of the silicone to work with, so parts of the model were covered very, very thin. That made those parts harder to work with, and became weak points in the mold when the expanding foam eventually went in. If you have enough of it, I’d recommend making sure your entire model gets covered in at least half an inch or so of silicone so there’s enough there to hold the shape.
To be continued…
I’m slowly putting together the rest of the details. In the meantime, you can see the snake in action, below.