It’s been a versatile art technique for generations of artists, makers, and creators: paper mache (papier mâché). I’ll delve into the art of the technique, exploring the basic techniques involved, and some examples of what you can do with it.
Basic Paper Mache Technique
- Materials
Old newspapers or newsprint. I’ve used old magazines as well.
White glue or a homemade paste (a roughly 1:1 flour and water mixture).
Balloons, crumpled paper or other forms for shaping. - Preparing the Paper Mache Paste
If using white glue, mix it with water to create a smooth paste. For a traditional paste, blend flour and water until you achieve a consistency similar to a slightly runny pancake batter. - Tearing and Layering
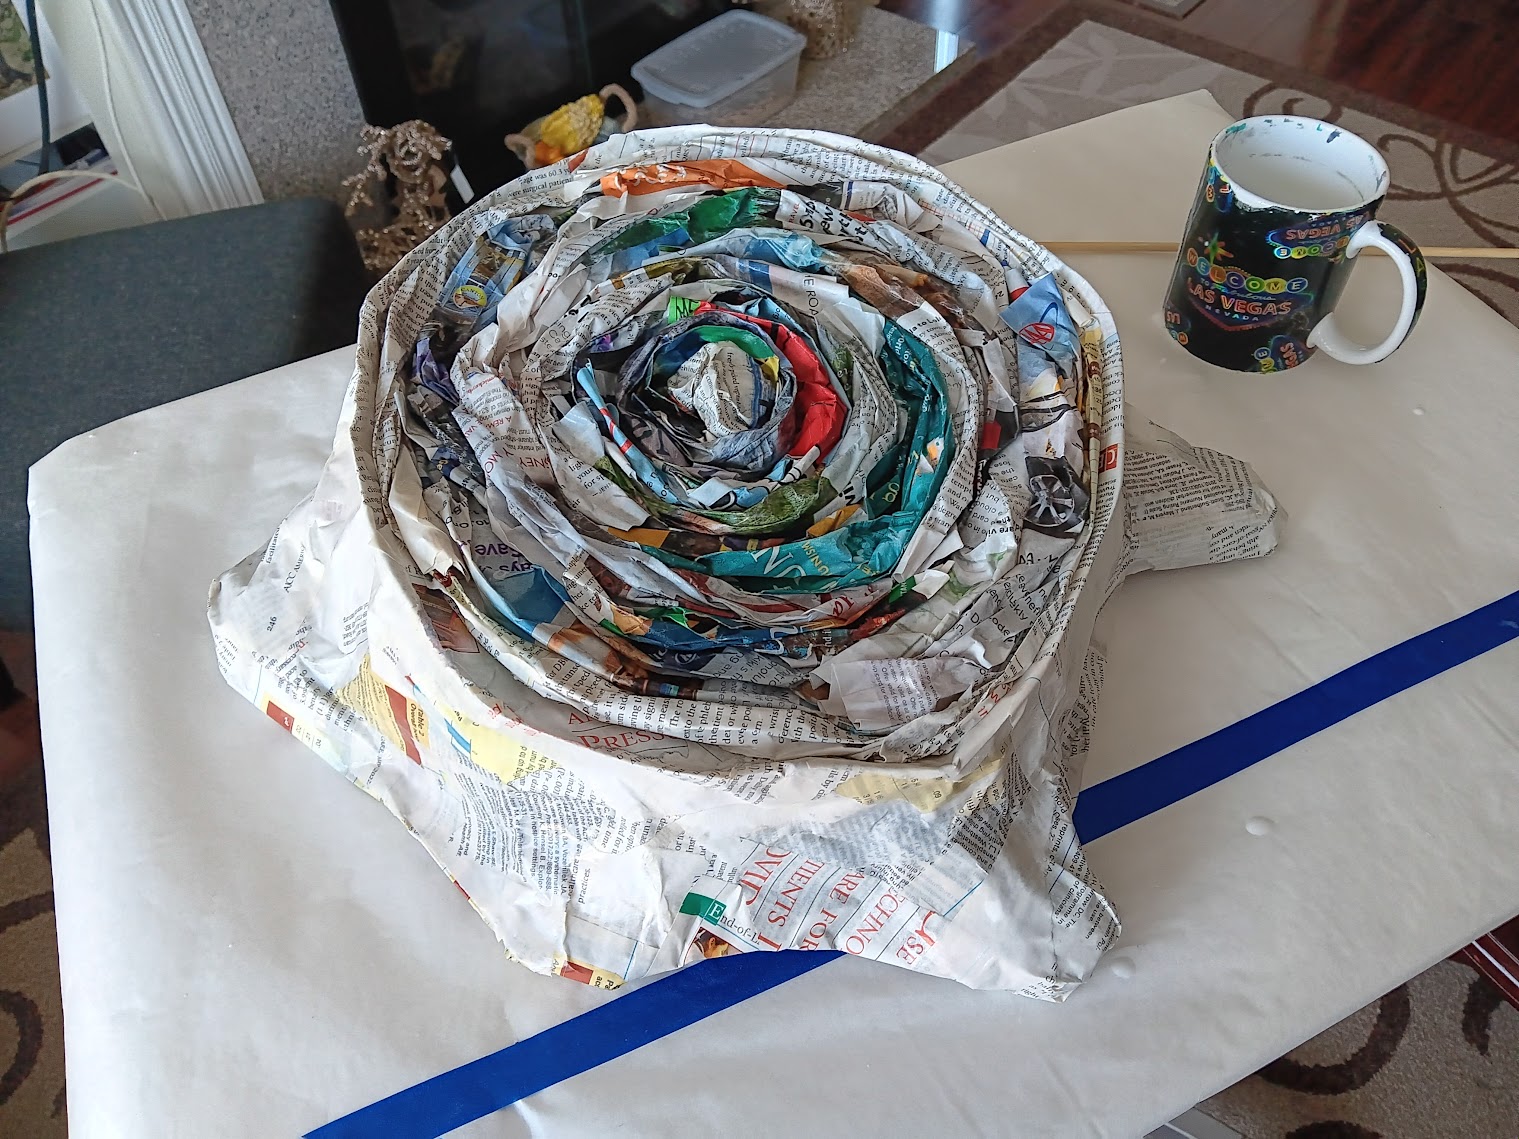
Tear the paper into strips or small pieces. I usually tear up a bunch of different sizes and use whatever size seems most appropriate for the section I’m applying the paper to.
Dip each piece into the paste, ensuring it is fully coated. Drag pieces across the rim of the container, or run the pieces through lightly pinched fingers to remove excess. (This will significantly speed up dry time) - Building Layers
Layer the strips onto your chosen form, smoothing them out as you go.
Repeat the process, adding additional layers. Let each layer dry before adding the next.
The number of layers depends on the desired thickness and strength of the final product. Don’t pile on layers and layers of wet paper. This might make your form collapse, and it will take a long time for it to dry. - Shaping and Forming
Manipulate the paper mache while it’s wet to achieve the desired shape.
Use additional materials like wire or cardboard to create structural elements if needed. - Drying
Allow the paper mache to dry completely. This may take several hours or overnight. - Painting and Sealing
Once dry, paint and decorate your creation using acrylic paints, spray paints, markers, etc. Once that’s all dry, you can add a layer of sealer like Mod Podge to make it more durable.
Now that we’ve established the fundamentals, here are a few examples of what you can do with the technique.
A Few Examples
Paper Mache Costumes
One of the most iconic uses of paper mache in Halloween costumes is crafting masks and costumes. The paultjr.com website features a variety of intricate paper mache costume projects, showing the versatility of paper mache in providing a customizable canvas for artistic expression.
Examples: Peacock Mantis Shrimp Headpiece or the Pangolin Costume
Props and Accessories
In addition to costumes, props and other accessories can be made paper Mache. I’ve employed the technique on terrarium hides and special displays as well.
Examples: Terrarium Hide or the Stump of Jesse
Tips and Tricks
As you explore your own paper mache projects, consider these additional tips:
- Armature Support
When crafting larger structures or costumes, consider using a supportive armature made of wire, cardboard, or other materials. This provides stability and helps maintain the intended shape. - Layering for Strength
Building up multiple layers of paper mache enhances the strength and durability of your creation. Be patient and allow each layer to thoroughly dry before adding the next. - Quick Paper Strips
A quick way to produce a lot of paper pieces/strips is to take an old magazine, grab a few pages and tear a one inch strip down the whole length of the pages. Tear more strips down until you reach the inner spine of the magazine. From there, grab all the narrow one inch strips of paper and tear them width-wise into 1-3 inch strips, and boom, you’ll have plenty of little rectangles of paper strips to work with. - Experiment with Texture
Use various techniques to add texture to your paper mache, such as crumpling the newspaper or using textured fabrics. This adds depth and visual interest to the final piece. - Combine Materials
Paper mache can be complemented with other materials like fabric or foam. Experiment with combinations to achieve the desired look or texture. - Sealing and Coating
Once your paper mache creation is complete, consider sealing it with a clear sealant to add durability. This not only protects the surface but also provides a glossy or matte finish.
Your Turn
Whether you’re crafting a cool mask, a creature costume for yourself or your kids, or a prop of some kind, you can find inspiration and guidance on my site, or you can always hit Pinterest for more ideas (I include some of my projects on there as well).
Embrace the tactile nature of paper mache, experiment with textures, and enjoy the process of transforming humble materials into fantastical creations.
The process itself is a great exercise and even a celebration of imagination, craftsmanship, and the joy of bringing characters to life. So, gather your materials, explore projects, and embark on something creative, interesting and witty where the only limit is your creativity.
Hope this helps you create something great.
Peace,
Paul
Leave a Reply